
Register for a Ride
Aberdovey Rider Portal | Last updated: 7 October 2026
This guide covers a new ride registration using your existing portal account. Creating an account and registering for a ride are separate tasks. If you already have a current registration, use After Registering: Manage Your Ride or the payment guide instead.
The images are illustrated screen examples based on the current portal, not live screenshots. Names, dates, prices, discounts, ride titles and available options can change. Use the information displayed on your own registration.
1. Sign in and choose Register Now
- Sign in using your own account. If necessary, follow Create Your Portal Account first.
- Complete any email verification requested on the homepage.
- In What do you want to do?, find Register for [year] Ride and select Register Now.
- Check the ride year before entering your details.
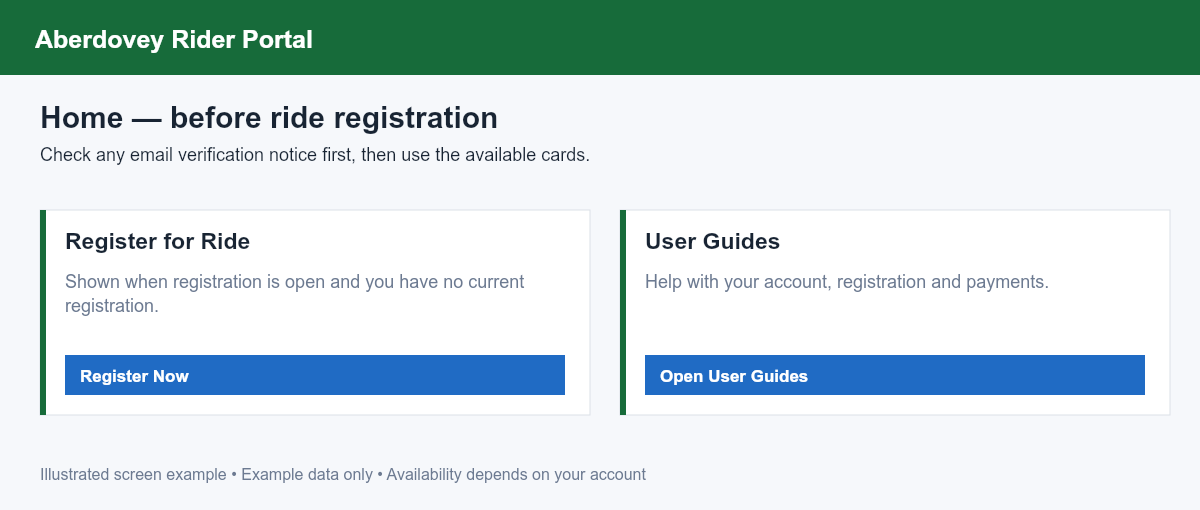
The card appears when registration is available and you have no current registration. If you already registered, do not create a second account to register again. If registration is closed, the ride is full, your account has a registration restriction, or the ride date has passed, follow the displayed notice or contact organisers. A reserve-place offer is not a confirmed riding place.
2. Work through the six registration steps
The current form has Rider → Address → Ride → Extra Info → Terms → Confirm. Use Next to continue and Previous to correct earlier entries. Required information and validation checks must be completed before you can continue. Do not assume a partially completed form has been submitted or saved as a registration.
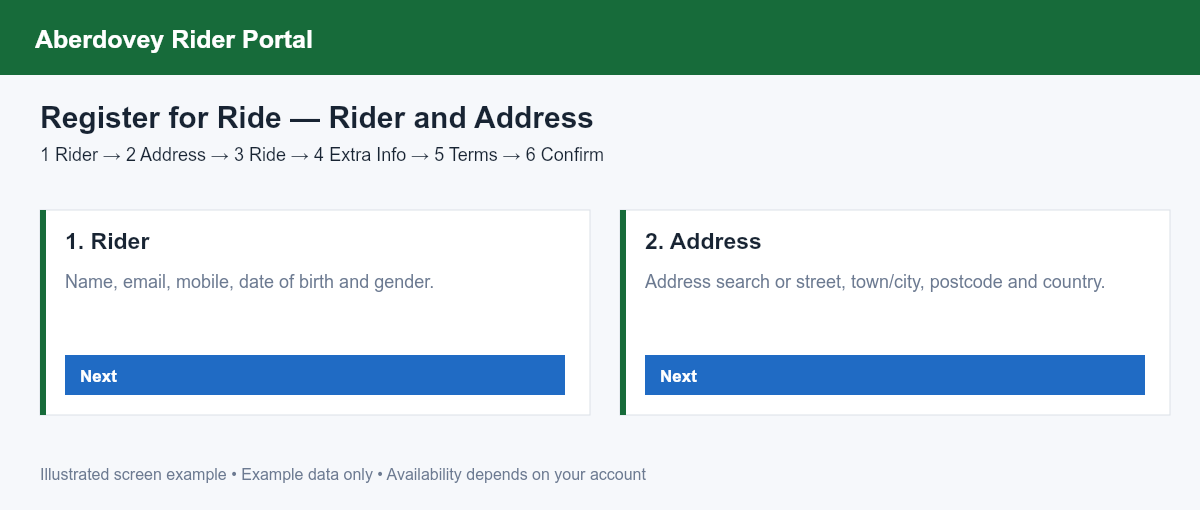
Step 1 — Rider
Check or enter your first and last name, email, mobile number, date of birth and gender. Ensure the email is accessible and the mobile number is correct. Check the date of birth carefully; age-related requirements use it. If an under-18 confirmation is requested, follow the instructions and obtain the required parent/guardian consent.
Step 2 — Address
Use the address search if offered, or complete the address fields. Check street address, town/city, postcode and country; add area and county where relevant. Previously saved information can be prefilled, so check it rather than assuming it is current.
Step 3 — Ride
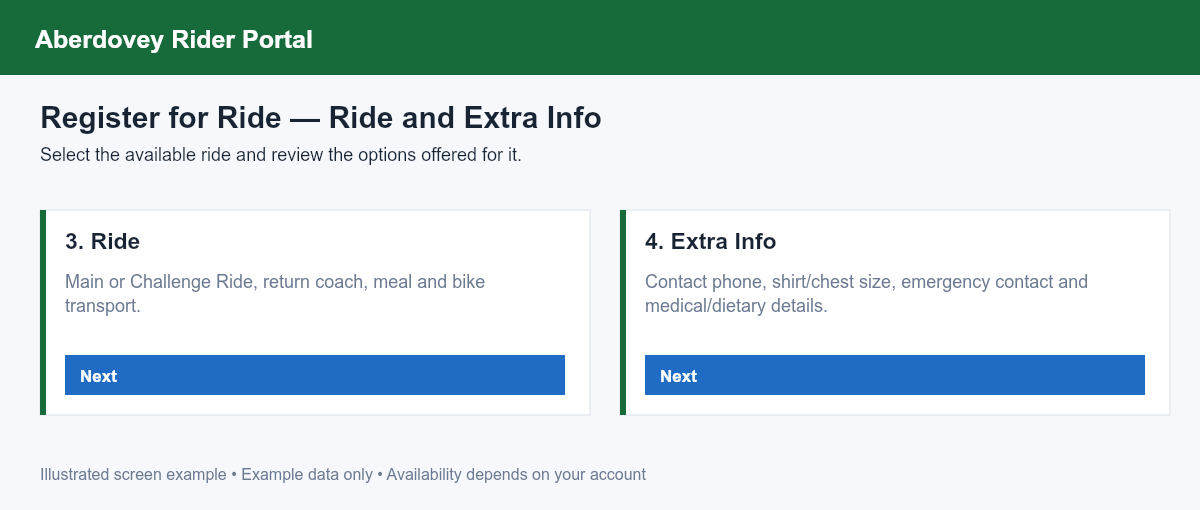
Select an available Main Ride or Challenge Ride and read its current description, dates and fees. The Challenge Ride's name may vary by year.
Review Return Coach, Finish Line Meal and Bike Return Transport where offered. Only choose services you need, and check whether a charge applies. Availability can depend on your chosen ride. Do not treat example images as a price quotation.
Step 4 — Extra Info
Check your rider contact phone and whether you are a first-time rider. Complete shirt and chest size where requested. Add the emergency contact name and phone, medical information and dietary requirements shown on the form.
Use an emergency contact who can be reached during the ride and knows they are your contact. Enter relevant safety information accurately. Keep private medical details within the portal rather than sharing them in screenshots or bug reports.
Step 5 — Terms
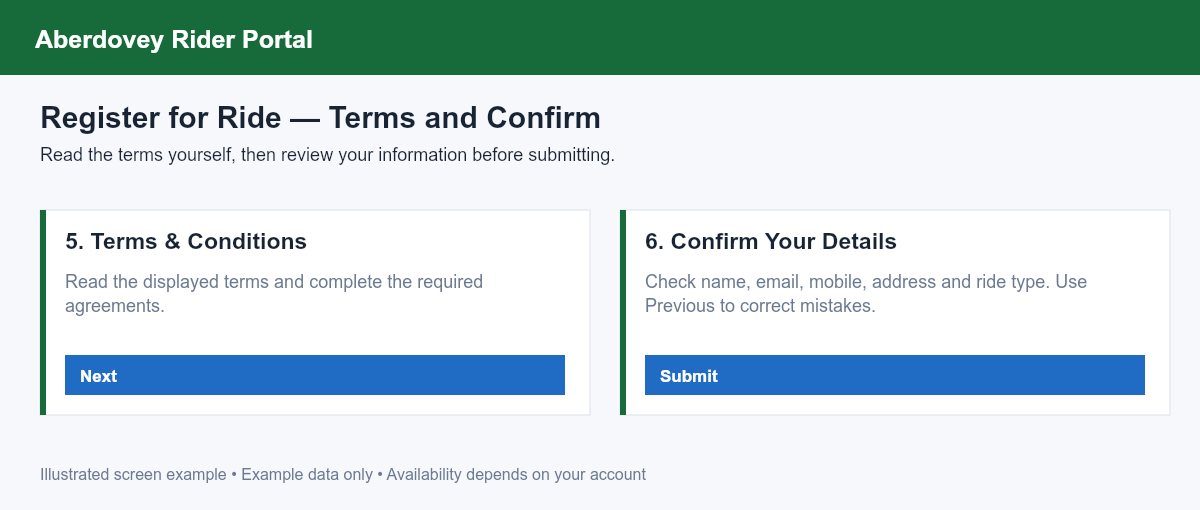
Read the displayed terms and conditions yourself and complete the required agreement controls. Check any instructions about hazards, responsibility, fundraising and consent on the current form. Do not proceed unless you understand and accept the terms.
Step 6 — Confirm
Review Confirm Your Details, including name, email, mobile, address and ride type. Use Previous to correct mistakes, then return to the confirmation step and select Submit.
3. Pay or follow the reserve instructions
After submission, the portal opens the ride payment page. Review your selected ride, options and amount. Follow Paying for Your Ride After Registering for Main/Challenge payment choices, deposits, PayPal and confirmation.
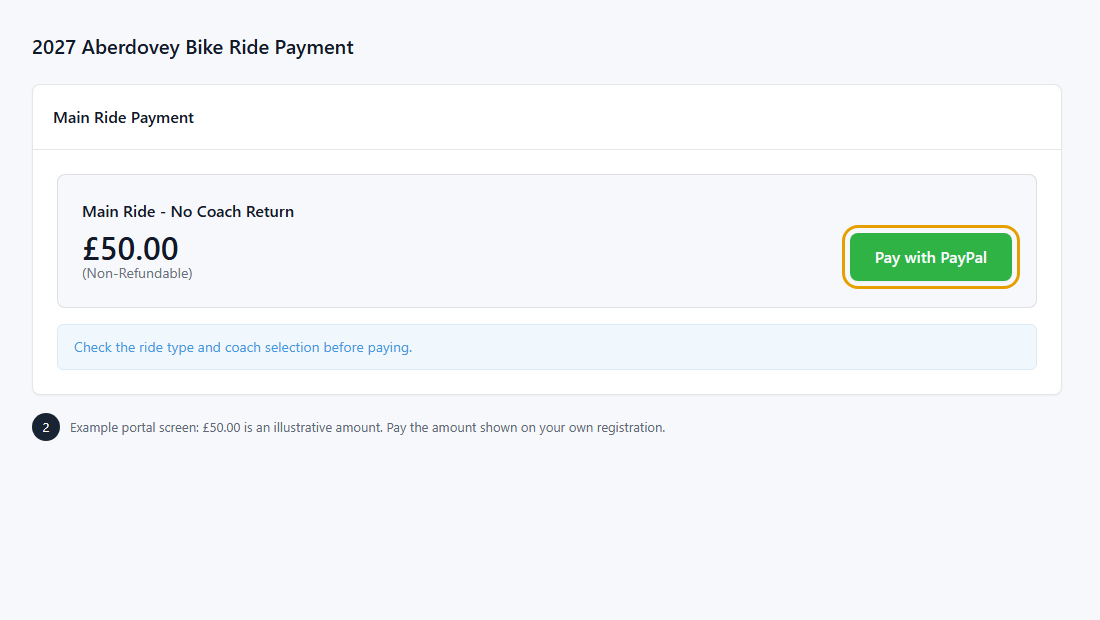
If NO PAYMENT IS REQUIRED AT THIS TIME or reserve instructions appear, follow them. Do not pay an unrelated option to try to obtain a place. If you stop before paying, return to Home → What you need to do next → Pay Ride Fees → Pay Now; do not submit another registration.
4. Check what remains to do
Return to Home after submitting/payment. Look at What you need to do next for missing details, required consent, payment or emergency information. Keep your payment receipt and watch for the registration email and rider number as processing completes.
Continue with After Registering: Manage Your Ride. If the confirmation or saved details are wrong, ask organisers to check the registration before paying again.
Common problems
| Problem | What to do |
|---|---|
| Next is disabled | Complete required fields and correct the validation messages on the current step. |
| Old information is prefilled | Replace it with your current details and review the final confirmation. |
| You already registered but cannot find it | Sign in to the original account and check the ride year; contact organisers rather than registering twice. |
| Payment did not finish | Follow the payment guide and check whether PayPal charged you before trying again. |
| You need a change after submitting | Use My Ride/the offered change controls or contact organisers. Do not begin another registration. |